While me and Tom don't usually do much for Valentines I've had the idea knocking about in my head for a while of making one of those canvases with the background painted then letters stuck over and it painted again in another colour, so when you peel the letters off they show up in the colour underneath. I've seen loads of them around on pinterest - take a look on my board here for examples. By the way, if you aren't on Pinterest yet you so should be, I could waste hours of my life on there (Well I already have).
Toms favourite band is Incubus, so I wanted to use a lyric from one of their songs, and make it a bit romantic to tie in with Valentines day so I chose the lyric 'Whatever tomorrow brings I'll be there' from the song Drive.
This is the finished article

To make your own you'll need:
- A canvas or board to your desired size. I used wood from Toms old wardrobe which was in pieces in the garden, so I had plenty of laminated wood around to use.
- Paint or patterned paper, or anything you can paint over for the background really, I went with sheet music for the song. Some tutorials show this done over an existing picture which looks great as well.
- A different colour paint for the top
- Vinyl adhesive lettering or adhesive vinyl (I didn't use this but it would have been about 500% easier if I had!)
- Sponges and brushes
- Glue or mod podge
How to:
1. Cut the paper for the background to size, or paint the canvas or board your chosen background colour (Then ignore steps 2 to 6 as these are just for covering the area with paper). I wanted both sides covered as I was using an old board from a wardrobe so it didn't look very pretty, if you are going for the same look leave an overhang of extra paper of a few cm either side (more on the side that's going to be the front) so you can cover the edges. I used tacky glue on one side and it really wrinkled when drying so that will be the back, I used mod podge on the front and that was much better so I'd reccommend using that instead. If this being done over an exisiting picture or painting this would eliminate this step all together so skip ahead to step 8.
2. Cover your surface in mod podge, thinly and evenly so it doesn't soak the paper too much (The circles in the corners of the board are from where there were some holes left from when this was a wardrobe so I filled them before starting).

3. Stick the background paper down, making sure there are no wrinkles

4. When the one side is covered and fully dry repeat on the other side.
5. Fold over to cover the edges and stick the paper down underneath the folded over part with more mod pogde

6. Fold the corners like wrapping a present


7. Let it all dry thoroughly, I left it overnight (hidden under my wardrobe)

8. Figure out the spacing and placement of your letters. You want large enough letters so that you can see the background underneath and get the impact of it but also small enough so the front colour features too.
9. This is where I went off plan. I started this on Sunday and once I had the paper on and let it dry overnight it was Monday, Valentines day is Thursday, I therefore needed to get the lettering on Monday evening as Tom would be around Tuesday evening and I wouldn't be able to do any more work on it. So I needed to be able to get the letters on and paint one coat by the time Tom got home Monday evening, and leave it to dry to finish it on Wednesday. I work full time and don't have a car and did not have any vinyl letters hanging around (who does?), and no local hardware shops had them. I made the decision to draw my letters on and trust that I would have a steady enough hand to paint around them. I really reccommend that you use the vinyl though, as it took me ages to measure out and draw on the letters (I wanted a uniform size and shape) and then I had to paint around them which also took forever. If you use the letters you can stick them on, paint over the lot and just peel them off.
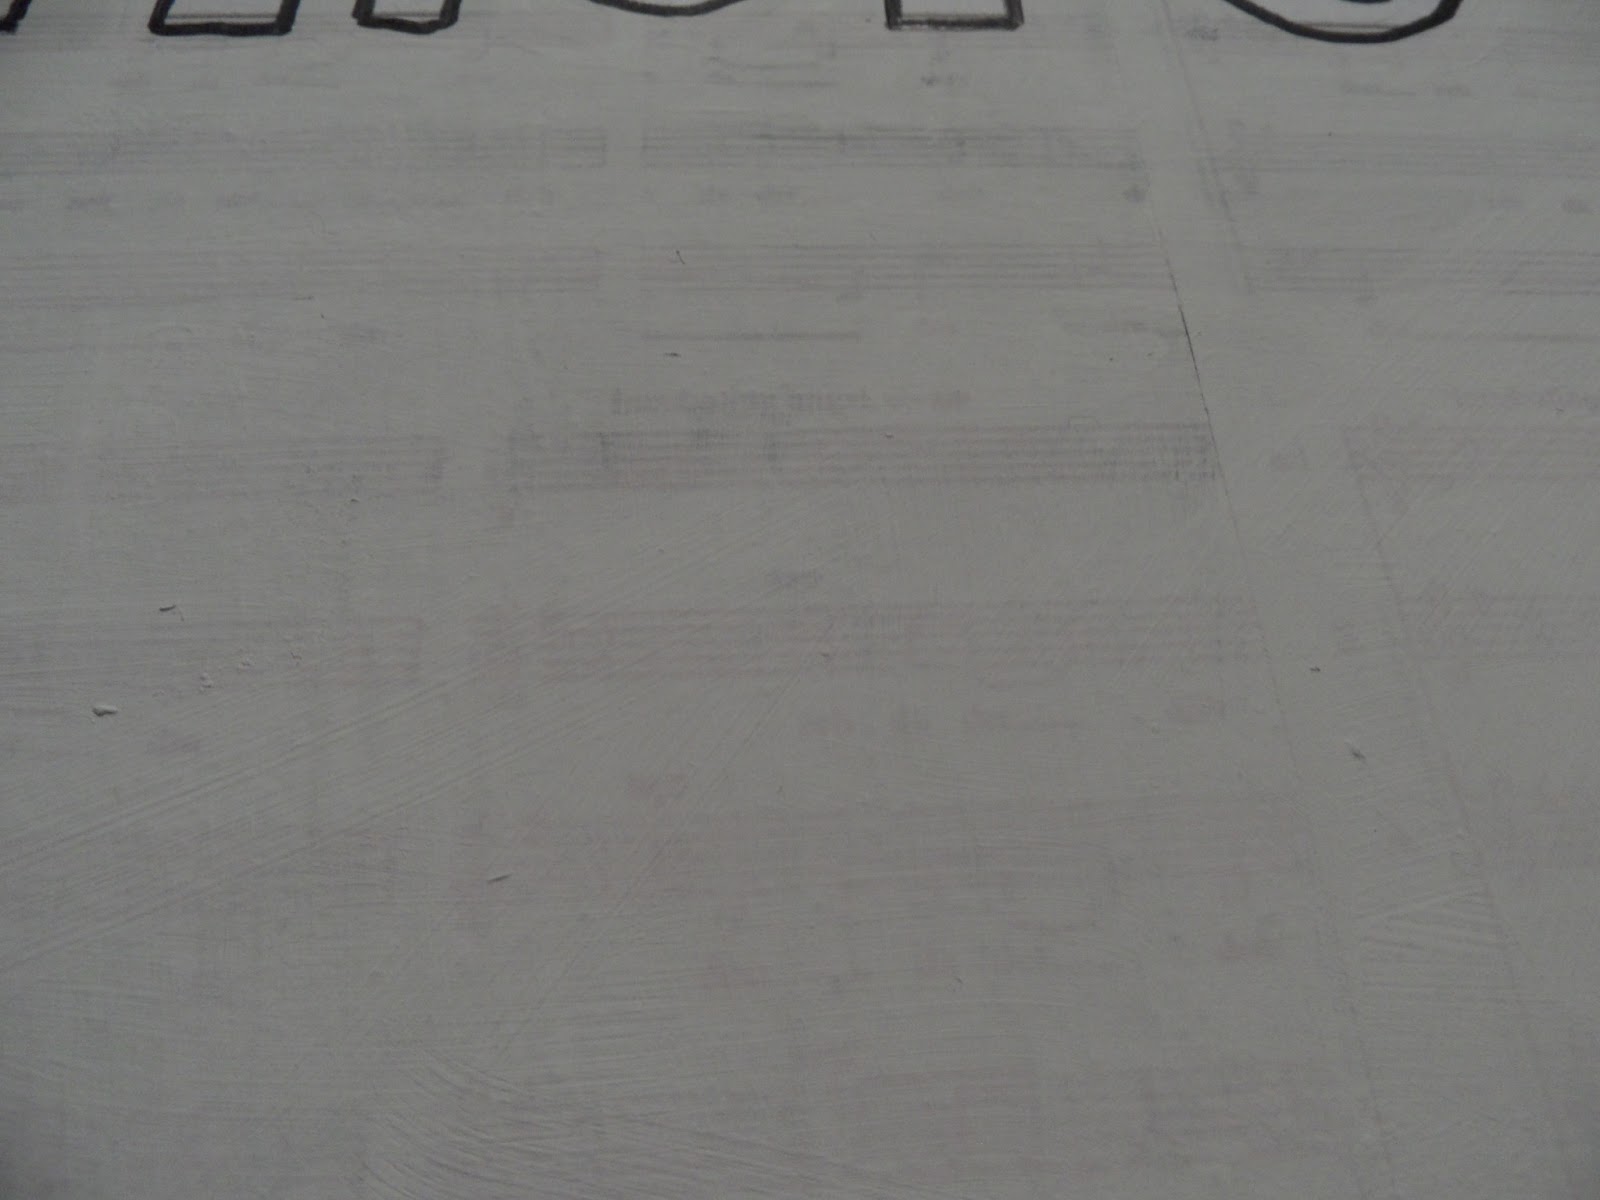
10. So after what felt like ages of measuring and even using a compass (Don't ask why I even own a compass I haven't used one since I did my GCSE maths!) I had lettering pencilled on looking like this:

11. Then paint over (If you have thought ahead and gotten vinyl letters) or around (If you are stupid like me and didn't get any) your letters. I did 2 coats as I wanted to still see the music faintly under the white paint.


No comments:
Post a Comment